Introduction
If you’re using a Raspberry Pi with a PoE HAT (Power over Ethernet), you’ve probably noticed the fan spinning loudly—even when your Pi isn’t hot. While the fan is essential for cooling, the default behavioqr isn’t always smart or quiet. Many Raspberry Pi enthusiasts want a way to control the PoE HAT fan speed to reduce noise or improve energy efficiency.
Good news: You can control the PoE HAT fan speed on Raspberry Pi using software-based methods! In this guide, we’ll walk you through step-by-step instructions to adjust the fan behavior based on temperature, automate it using scripts, and make your Raspberry Pi quieter and cooler—without breaking anything.
Why Control the PoE HAT Fan Speed on Raspberry Pi?
Benefits of Fan Speed Control
Controlling the fan speed isn’t just a “nice to have”—it brings real advantages:
- Noise Reduction: A constantly running fan can be distracting, especially in quiet environments like a bedroom or office.
- Extended Fan Life: Running the fan only when needed means it lasts longer.
- Power Efficiency: Less fan usage means lower power consumption, especially important for battery-powered setups.
- Better Thermal Management: You can customize cooling behavior to keep your Pi at the perfect temperature.
Understanding the PoE HAT and Its Fan
H2: What is a PoE HAT for Raspberry Pi?
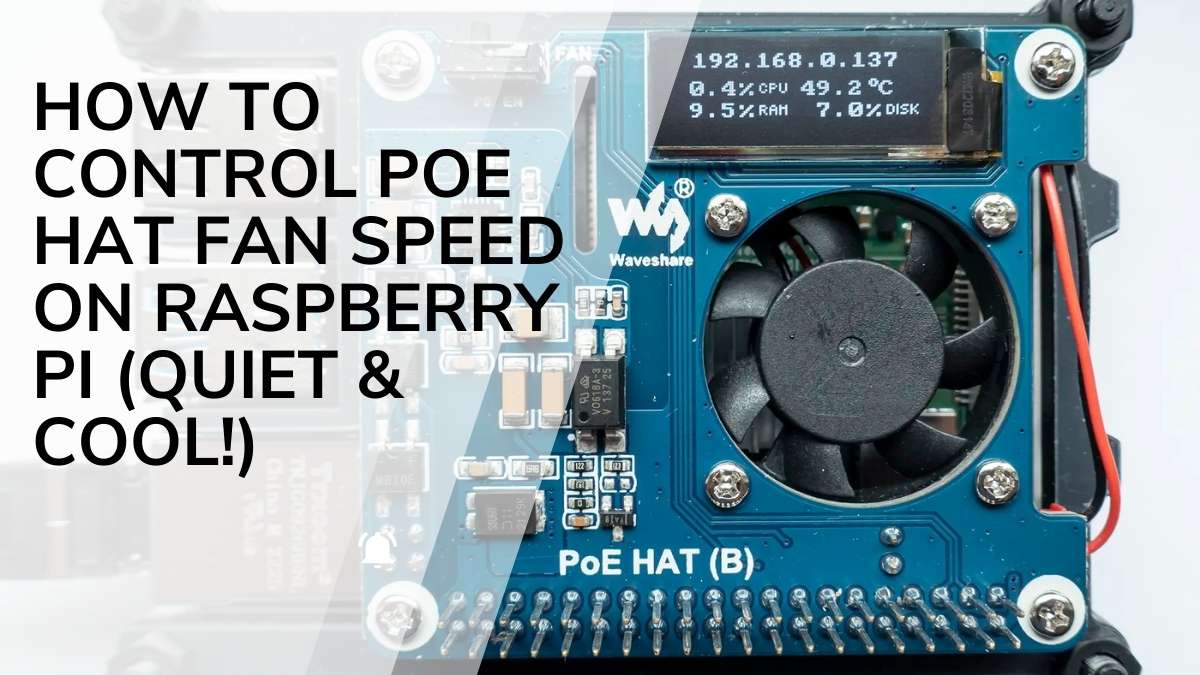
A PoE (Power over Ethernet) HAT allows your Raspberry Pi to be powered and connected to the network with just one Ethernet cable. It also includes a small fan for active cooling. This is useful for headless (no monitor or keyboard) deployments or networked devices.
However, by default, the fan is controlled by hardware and only has on/off behavior—it spins at full speed when a certain temperature threshold is reached.
How the Default Fan Behavior Works
When Does the PoE Fan Turn On?
The PoE HAT fan usually kicks in when the CPU temperature reaches 80°C, spinning at full speed. But for many users, this is too late and too loud. Plus, it has no intermediate speeds—just full blast or nothing.
Limitations of Default Setup
- No manual control
- No speed adjustment
- Loud operation
- Limited temperature sensitivity
To get around this, we’ll install a fan control script that allows custom temperature thresholds and fan speeds.
Step-by-Step Guide: Control PoE HAT Fan Speed Raspberry Pi
Prerequisites
Before you begin, make sure you have:
- Raspberry Pi 3B+ or newer (PoE HAT support)
- Official Raspberry Pi PoE HAT (or PoE+ HAT)
- Raspbian OS (now Raspberry Pi OS), updated
- Terminal access (via SSH or directly)
Step 1 – Enable I²C Interface
The PoE HAT fan is controlled via the I²C bus. To interact with it, enable I²C:
bashCopyEditsudo raspi-config
- Go to Interfacing Options
- Select I2C
- Enable it
- Reboot the Pi
Step 2 – Install Required Packages
Install tools to interact with I²C devices:
bashCopyEditsudo apt update
sudo apt install i2c-tools python3-smbus
Check if the PoE HAT is detected:
bashCopyEditsudo i2cdetect -y 1
You should see a device at address 0x14 (this is the fan controller).
Step 3 – Write a Fan Control Script
Create a Python script to control the fan based on temperature:
bashCopyEditnano poe_fan_control.py
Paste this code:
pythonCopyEdit#!/usr/bin/env python3
import smbus
import time
import os

bus = smbus.SMBus(1)
address = 0x14  # PoE HAT I2C address

def get_cpu_temp():
    res = os.popen("vcgencmd measure_temp").readline()
    temp = float(res.replace("temp=","").replace("'C\n",""))
    return temp

while True:
    temp = get_cpu_temp()

    if temp >= 70:
        bus.write_byte_data(address, 0, 255)  # Full speed
    elif temp >= 60:
        bus.write_byte_data(address, 0, 180)  # Medium speed
    elif temp >= 50:
        bus.write_byte_data(address, 0, 100)  # Low speed
    else:
        bus.write_byte_data(address, 0, 0)    # Off

    time.sleep(10)
Save and exit.
Make the script executable:
bashCopyEditchmod +x poe_fan_control.py
Step 4 – Run the Script on Boot
To keep the fan controlled automatically:
- Open crontab:
bashCopyEditcrontab -e
- Add this line at the end:
bashCopyEdit@reboot /usr/bin/python3 /home/pi/poe_fan_control.py &
Change the path if you saved the script elsewhere.
Now your fan will automatically adjust speed based on CPU temperature—even after reboot!
Advanced Tips for Fan Control
Fine-Tune Temperature Thresholds
You can customize the thresholds in the script to match your needs. For example, if you’re overclocking, you might want the fan to turn on earlier.
Use Logging for Monitoring
To monitor fan behavior, add logging:
pythonCopyEditprint(f"Temperature: {temp}, Fan Speed: {speed}")
This helps you see what’s happening in real-time, great for troubleshooting.
Common Errors and Troubleshooting
Script Not Working? Check These:
- I2C not enabled? Double-check with
sudo raspi-config. - Wrong address? Run
i2cdetect -y 1again. - Permissions? Make sure your script has execute permissions.
- Python errors? Run the script manually and watch for error messages.
Conclusion
Controlling the PoE HAT fan speed on your Raspberry Pi is not only possible—it’s easy, efficient, and makes a huge difference in performance and user experience. With just a few lines of Python, you can say goodbye to loud fans and enjoy smarter cooling.
Whether you’re building a home server, retro console, or IoT project, this tweak adds a professional touch. It’s also a great way to learn more about I²C, Python scripting, and Raspberry Pi internals.
Final Thoughts
So next time your Pi starts to whirr, don’t reach for earplugs—reach for this guide instead. With simple tools and a little setup, you can take full control over your PoE HAT’s fan and enjoy quieter, cooler computing.
Ready to take your Raspberry Pi to the next level? Try this fan control method today!
FAQs: Control PoE HAT Fan Speed Raspberry Pi
Q1: Is it safe to control the fan manually?
Yes, as long as you set reasonable temperature thresholds (like 70°C max), it’s completely safe.
Q2: Can I use this method with other fans or HATs?
This method is specific to the official PoE HAT. Other fans may require GPIO control instead of I²C.
Q3: What happens if the script fails?
If your script stops running, the fan will default to off. It’s wise to include safety measures or monitor temperature manually if your Pi runs hot often.
Q4: Does this method work on Raspberry Pi 5?
The PoE HAT is not yet officially compatible with Pi 5, but similar logic can be used for other fans if connected correctly.
Q5: Can I use a GUI tool instead of scripts?
As of now, there’s no official GUI tool for controlling PoE HAT fans. Scripts are the most flexible and effective method.